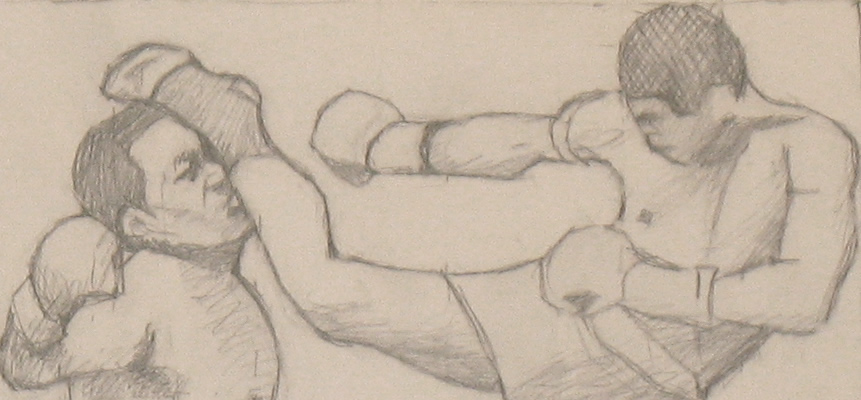
In this series of drawing tutorials, we turn to drawing the human figure in moments of intense action (my previous series sketched the hand in many different positions).
I began these action sketches as my own “notes” for a satirical PLAYGROUND OF THE AUTOCRATS canvas I’m painting, picturing medieval Russian noblemen and women viciously competing with each other for influence with the Tsar. When I create my actual painting, I’ll dress the people I’ve sketched in rich, historic Muscovite costumes.
Meanwhile, I’m also using my preparatory sketches here as tutorials to demonstrate my easy method of drawing. Today I’ll show you how to measure, create a custom grid, and visualize negative space via “right brain mode” to see your subject as a series of easy-to-draw, flat shapes.
Intro
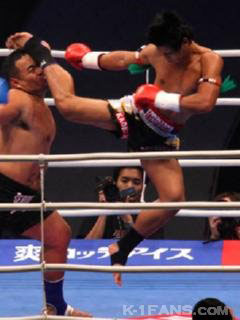
Photo of kick boxers used as model for sketch
For more info about the basic why and how of this series, please see my introductory post.
Today’s demo is my sketch of a photo of kick boxers.
This pose appealed to me partly because of the super-active twist to the body and kicking leg. I’m also looking for “models” of faces being savagely pushed. I’m not a violent person! But I am very interested in painting visual manifestations of people’s most powerful and basic emotions. Because we often keep such emotions hidden, I use satire in my PLAYGROUND OF THE AUTOCRATS artwork to convey them in physical form.
Setting up to sketch the tutorial
Please see the relevant sections of this post for set up and materials.
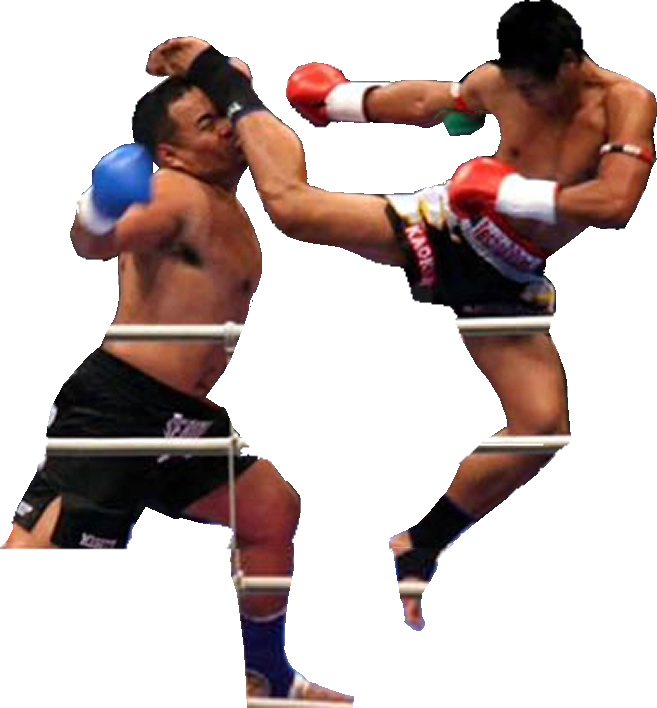
Composited and trimmed photo used as model for this tutorial
I often begin by “cutting out” the action figures I want to sketch, so I can see them clearly and vividly as I work.
I always want full-body photos because I don’t yet know how much of each person will show in my final painting. But often the most exciting sports photos focus in on the core details of the action, cropping out part of the bodies. Then I just have to work with what’s available.
In this case, I had found two images of the same photo, cropped differently. So I combined the two in my computer, to see as much of each body as possible (above). I’ll ignore the boxing-ring ropes as I sketch.
Beginning your sketch with a negative space and a few measurements
I often begin by drawing a negative space at the upper left of my sketch (for the basics, scroll down to “negative space” here and here).
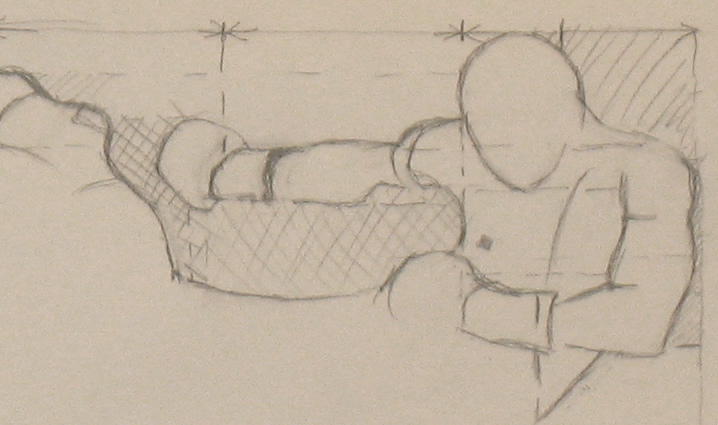
But in this particular pose, the smallest easy-to-draw negative space is in the upper right corner. So I began there. You can see this space in the detail of my sketch (right). You can also see another very useful negative space I used later, between the arm and leg of the kicking boxer.
How can you set down that very first space accurately? One way is to begin by measuring its edges – often artists use their finger on their pencil to create a “unit” of measurement. You can also eyeball the edges of your paper to divide it into thirds, say, or quarters, then check you’ve done that accurately by using your finger on your pencil as a measure.
When you watch the video below, notice in the first frame that I began by dividing the right margin of the page into thirds – then the top third into fifths. This may sound technical as you read it, but it will become natural as you practice it because this technique helps so much to shape your first few lines accurately.
Throughout the video below, I marked arrows on my paper so you can see the size comparisons I made to judge accuracy. I usually make these size measurements only in my mind’s eye. In the video, I’ve drawn arrows (and later erased them) to make them evident to you. You may want to go through the video several times, at least once just focusing on these measuring devices.
Creating a custom grid to help your drawing
Perhaps the most useful tool I use is to note the horizontal and/or vertical relationship of any line I’m about to draw to other elements I’ve already completed. Example: the edge of the kicker’s forehead is directly over the outline of his chest. I represented this in the sketch detail above by a vertical dotted line.
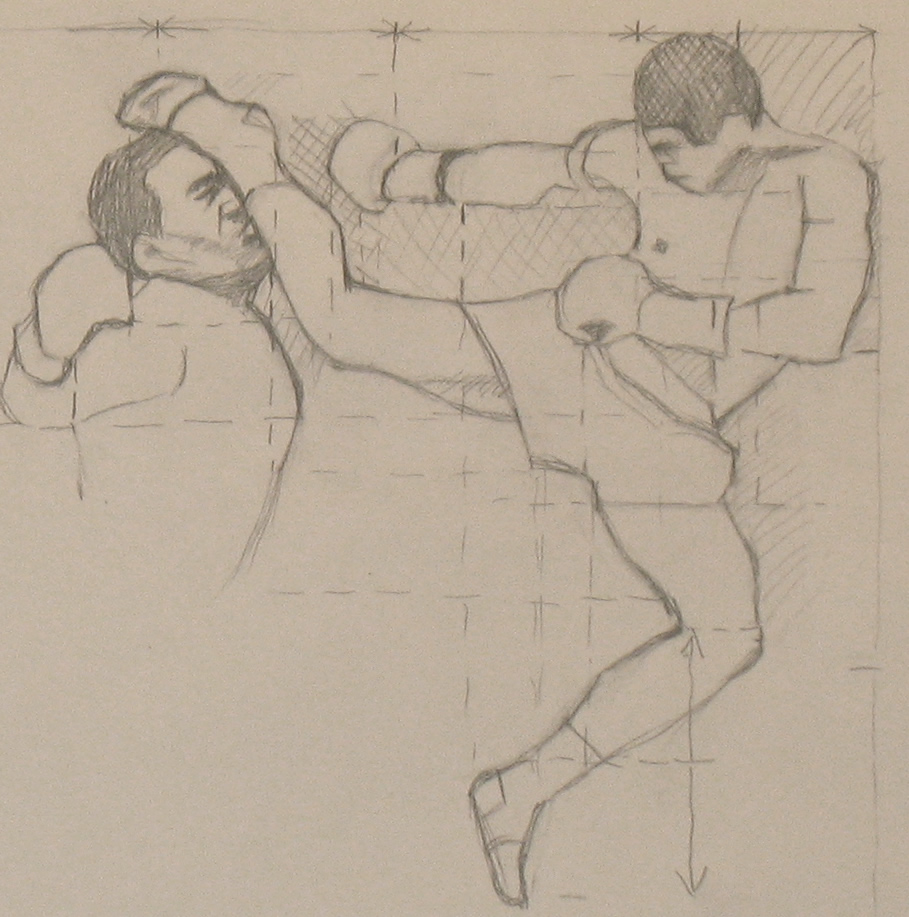
Still of sketch in progress shows dotted lines, hatching, and arrows used to aid drawing.
Again, I often envision these spacial relationships only in my mind’s eye. In the video at the end of this post, I marked the relationships I used with dotted lines (later erased) to make them obvious to you. For example, the left corner of the kicker’s shorts ends almost directly under the upper end of his glove.
As you watch the video, you’ll see how doing this creates a “custom grid” that helps me sketch accurately. Grids are an an almost magically helpful artists’ tool (for more on grids, see this post).
You may want to go through the video at least once just watching when and how I used these dotted lines to show me exactly where to place my next pencil mark. Play a game with yourself to see whether you can figure out why I envisioned each dotted line at the particular moment I did: Which body part of the kickboxers (or their clothing) did it help me complete?
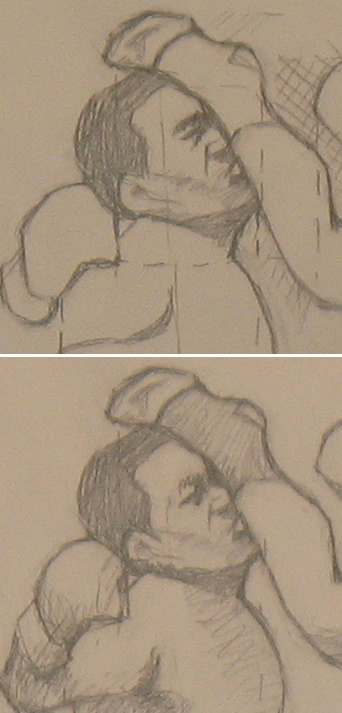
Faces are drawn the same way as everything else: by seeing all the features via "right brain mode" as flat shapes that are easily drawn using measuring and grids. Can you spot the subtle differences between the top version of this face and the bottom one? Which do you find more expressive?
Using negative spaces
In the sketch detail above, you can see that, rather than e. g. drawing the boxer’s kicking leg, I drew the “negative” space between the top of this leg and the bottom of his arm. It’s often far easier to draw a shape between parts of the body than it is to draw the muscles, knees, or elbows themselves. The reason for this is explained here (and in more detail here).
Usually when I’m drawing, I envision a lot of these negative spaces in my mind’s eye. In the video below, I marked some of the negative spaces with line- or cross-hatching, so you can see them.
But in fact, I constantly view all parts of my sketch as negative spaces to help me draw them more easily. For example, the bit of the boxer’s waist that’s visible can be more easily drawn if you see it as a simple dark triangle: the negative space between his arm and his waistband.
Seeing an entire drawing as a series of negative spaces is what led to my concept of a jigsaw puzzle as a tool to help you draw. Seeing your subject as a series of small, easily drawn flat shapes – each of which fits into those around it, like a jigsaw puzzle – is paradoxically the best way to create vividly three-dimensional-looking drawings.
Video drawing demo
You may want to watch the following demo a few times, looking for different elements each time:
Arrows indicate equal measurements
Dotted lines indicate elements directly horizontal or vertical to each other.
Line- or cross-hatching indicates some of the negative spaces I used.
{"numImgs":"66","constrain":"height","cvalue":"450","shellcss":"width:432px;padding:4px;margin:14px auto 0;"}
