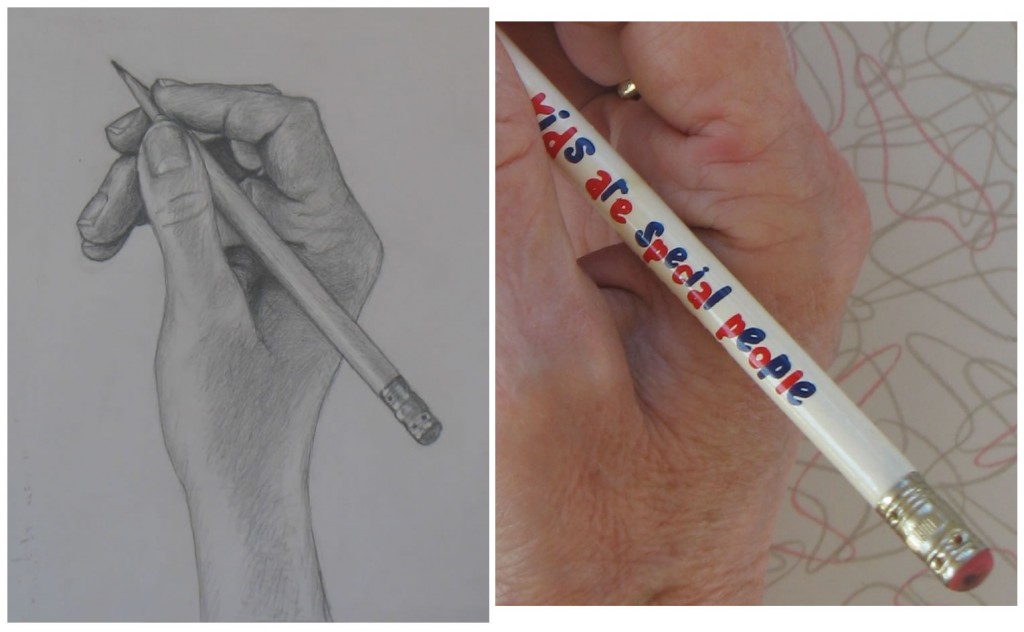
…my hand tutorials are designed to enable you to learn to draw by practicing on your own if need be.
(Earlier hand drawing tutorials are here.)
So far, all the poses in my drawing tutorials have been of hands viewed from one angle – our own eyes. We’ve been limited to this single vantage point because our drawings have been of our own hands mostly from life.
But what about drawing the hand as seen through others’ eyes as they face us? You often need to draw hands as another person would see them.
Of course if you’re lucky enough to have some one willing to pose frequently for you, you can draw from any angles you (and they) choose. But my hand tutorials are designed to enable you to learn to draw by practicing on your own if need be.
Your hand from others’ viewpoint
Look at the photos I took of my hand below. Is it physically possible for you to see your own live hand in these positions from this viewpoint? Try mimicking a few to find out. Of course, you can see all of them from the opposite side: from your own eyes’ perspective.
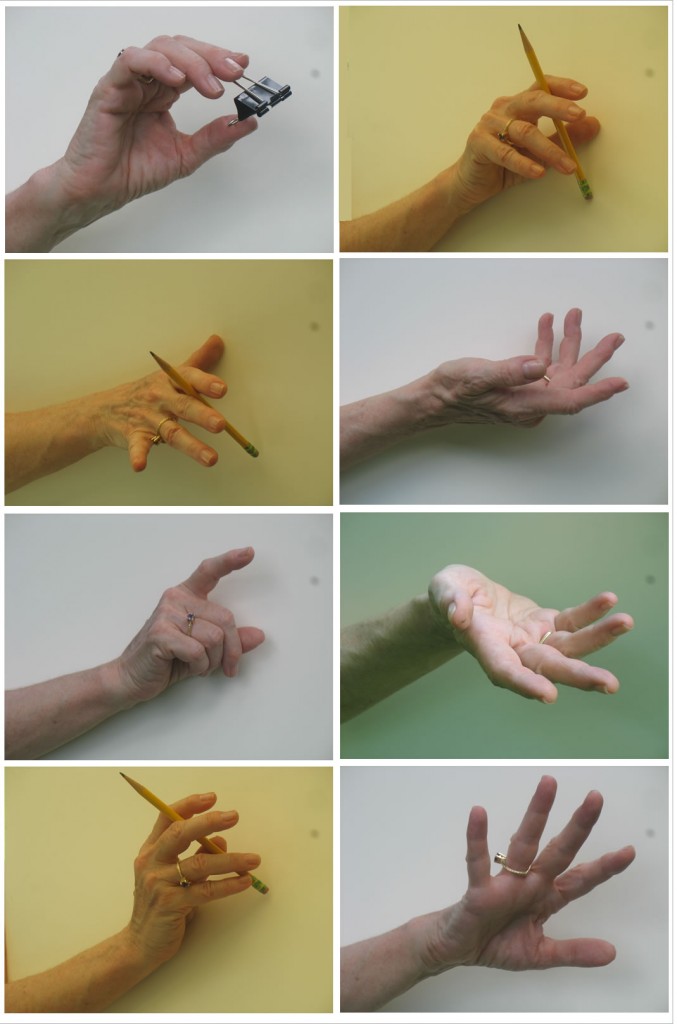
My hand photographed with camera facing me. (I used my right hand because of the ugly damaged nail on my left hand, as seen in earlier posts.)
You’ll find it’s next to impossible to comfortably see your own hand in any of these positions from the perspective shown here. You may approximate it by twisting your arm around painfully. But you won’t be able to hold the position long enough to draw it.
What’s the difference between your perspective of your hand and others’ perspective?
One element that characterizes the photos above is that my pinky appears foremost (except when my hand is palm up), while my thumb appears at the back of my hand. This is different from every tutorial hand pose we’ve sketched up to now.
Well, what the heck’s the difference, you might ask? Pinky forward, thumb forward, who cares? But if you see a drawing of a person whose hands’ thumb and pinky sides are reversed, it’s immediately recognizable as a bizarrely unnatural mistake. It looks like the hands were attached to the arms backward.
Thumbs will rarely be hidden by other fingers as you view your live hand from your own vantage point (unless you’ve intentionally tucked it away). Conversely, from the vantage point of others, the pinky will often be prominent, and the thumb will often be blocked by other fingers appearing in front of it.
So when we want to draw our own hand from the vantage point of another person, we have no other choice but to work from photographs – unless some one is willing to pose for us as often as we want to sketch.
If you have the benefit of a person who will pose for you, grab it! You need to know how to draw from life and should do it whenever you can. And if some one will just let you take photos of their hands, go for it. But short of that, you’ll need to find a way of taking photos of your own hand with the camera lens facing toward you instead of away from you.
How to take drawable photos of your hand from others’ viewpoint
I took all the photos above outdoors, mostly in the shade (the color differences come from my experimenting with several locations, e. g. under a translucent roof). I set my camera on a tripod facing me. If you don’t have a tripod, set your camera on a stack of books on a table, or some sturdy equivalent.
Because I’m using these photos for tutorials online, I wanted a plain, uniform background. So I held a piece of foam board against my chest in back of my hand. This created a background clearly differentiated from the hand. Drawbacks were:
- the foam board was very awkward to hold while I was simultaneously trying to keep my hand/arm in natural positions and reach over to the camera to snap the photo.
- the white board cast a reflection upward onto my hand, producing highlight patterns not ideal for basic drawing tutorials.
So you may want to just wear a plain t-shirt, ideally not too white/bright, to give you a relatively plain background for your hand.
If your camera has a viewer that can be flipped around to be seen by some one standing in front of the lens, you should of course flip it. This way, you’ll be able to see whether your hand pose is a good one and whether your hand is filling but not going outside the frame.
A crucial step
It’s very important to set your camera on zoom if that’s available, and to move far enough away from the lens to fit your whole hand in the picture. This will prevent distortion from standing close to the lens, which makes the closest parts of your hand appear abnormally large.
Standing farther from the camera will create another challenge: reaching way over to the camera to click the shoot button – unless of course you have some gizmo that lets you shoot at a distance. (My ignorance about photography is evident here. But my goal is not great photography. My goal is to get good enough images to use as models for drawing.)
Necessity is the mother of invention
So, minus the aforementioned gizmo, I needed to concoct some device to snap photos while I stood far enough back from the zoomed lens to fit my whole hand in the picture frame. The device had to reach a good distance horizontally, then arch down to press the camera button.
Taping together an odd assortment of a broken handsaw and other items did the trick (I later taped a piece of paper towel to the business end of my tool to make it slip less when pressing the metal camera button).
A photo of my contraption is below. I’m showing it to you not because it’s beautiful or elegant, but because it got the job done and allowed me to move forward with my drawing plan. I want to encourage resourcefulness in anyone using these tutorials. If you don’t have the right equipment, try to invent ways to move ahead anyway. Keep moving forward even if a given step along your way isn’t perfect.
Necessity was the mother of my invention of this crazy looking but effective too. Tape is green.
Getting back to actual drawing
My next post will be a drawing tutorial of one of the hand positions above (is there a particular one you’d like me to do first? If so, let me know). In the meantime, you may want to experiment with taking photos of your own hand with the camera lens facing toward you.
Alternatively, find some one who will pose for you to either draw or take photos!


