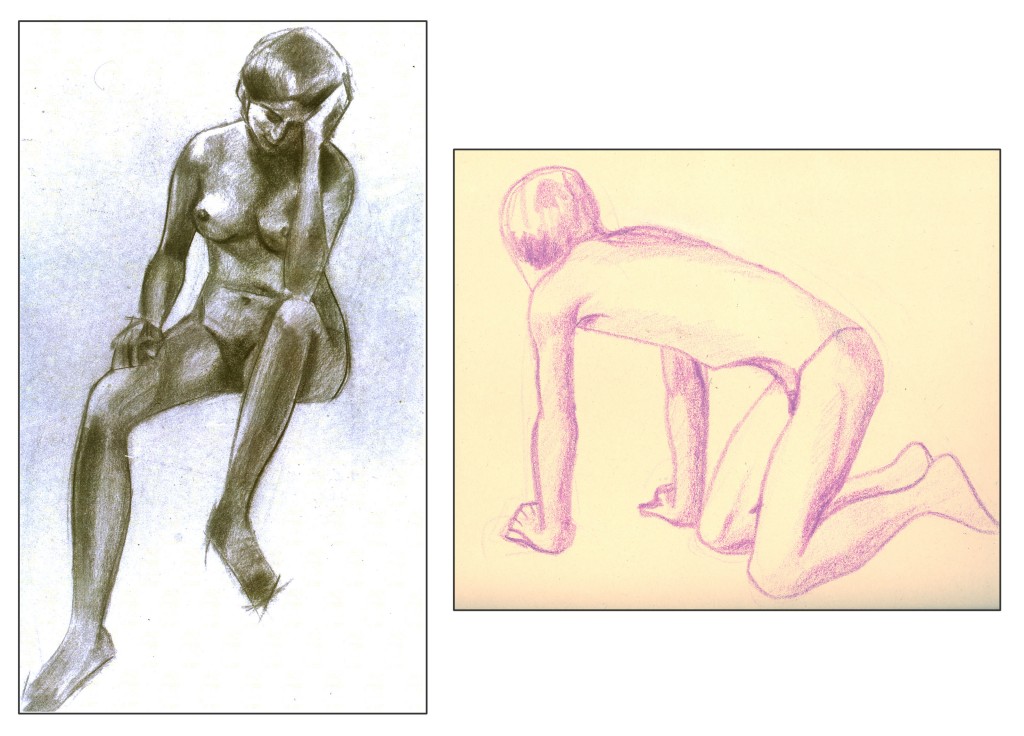
If you haven’t yet seen the first half of this life drawing lesson, you can get to it here.
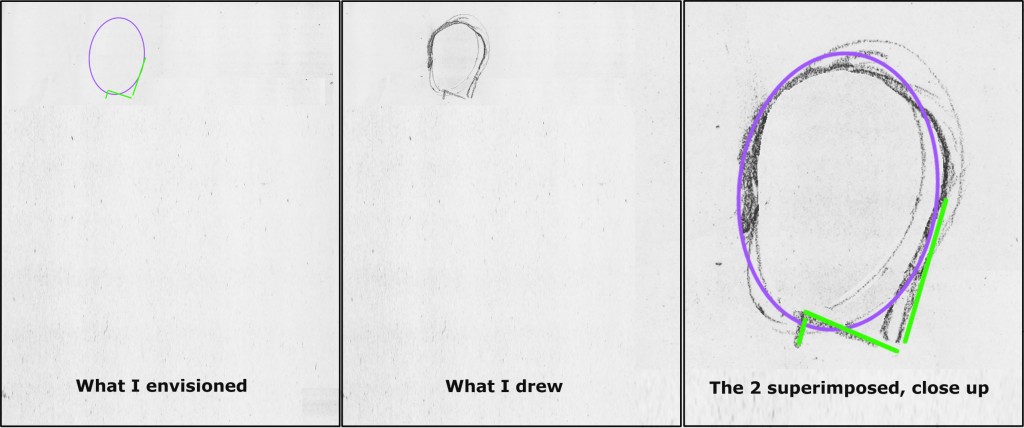
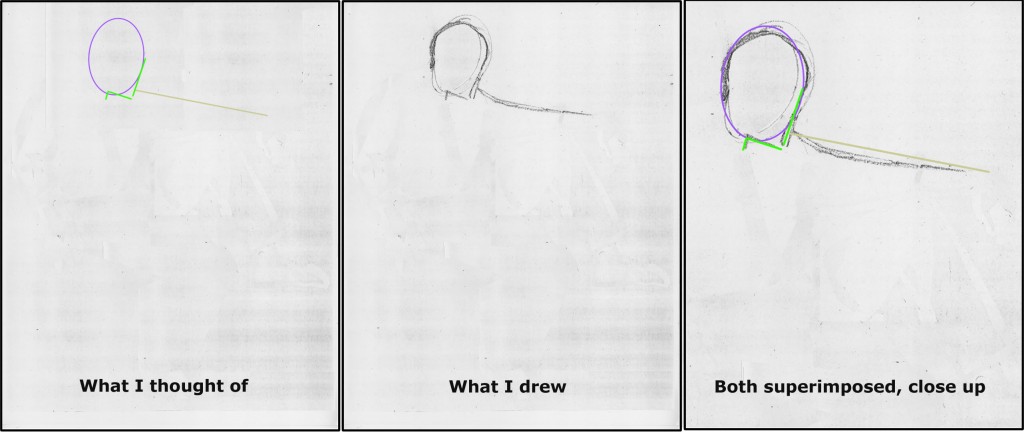
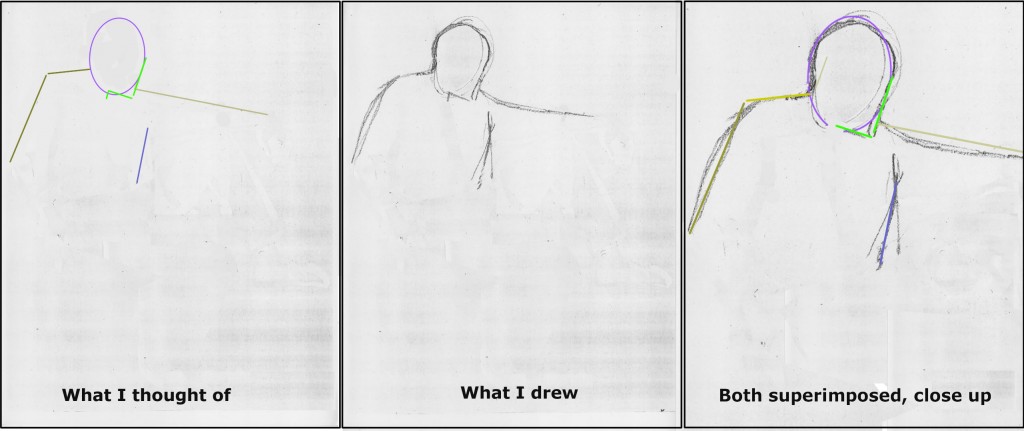
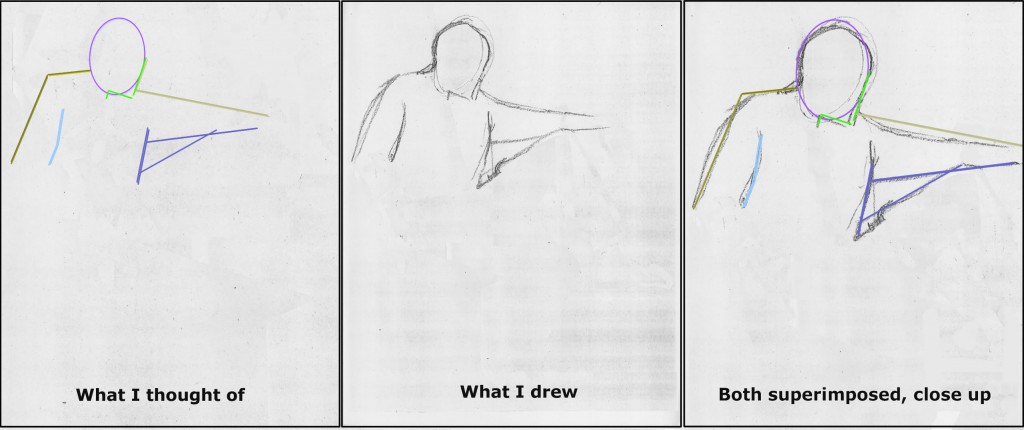
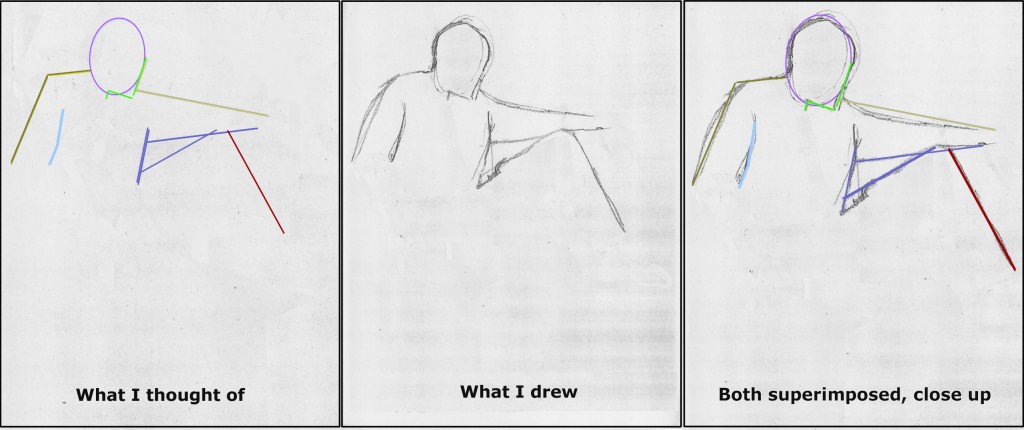
Briefly, my Angle-Abstraction Game drawing process begins with a simple shape, in this case an oval. Emerging from the oval, you draw lines corresponding to various elements of the body. With each added line, you build exponentially more reference points from which to base your next lines and angles.
Astonishingly, from this mess of geometry, a human form will appear. The magic moment when it suddenly does is the reward for forging through any difficulties that precede it.
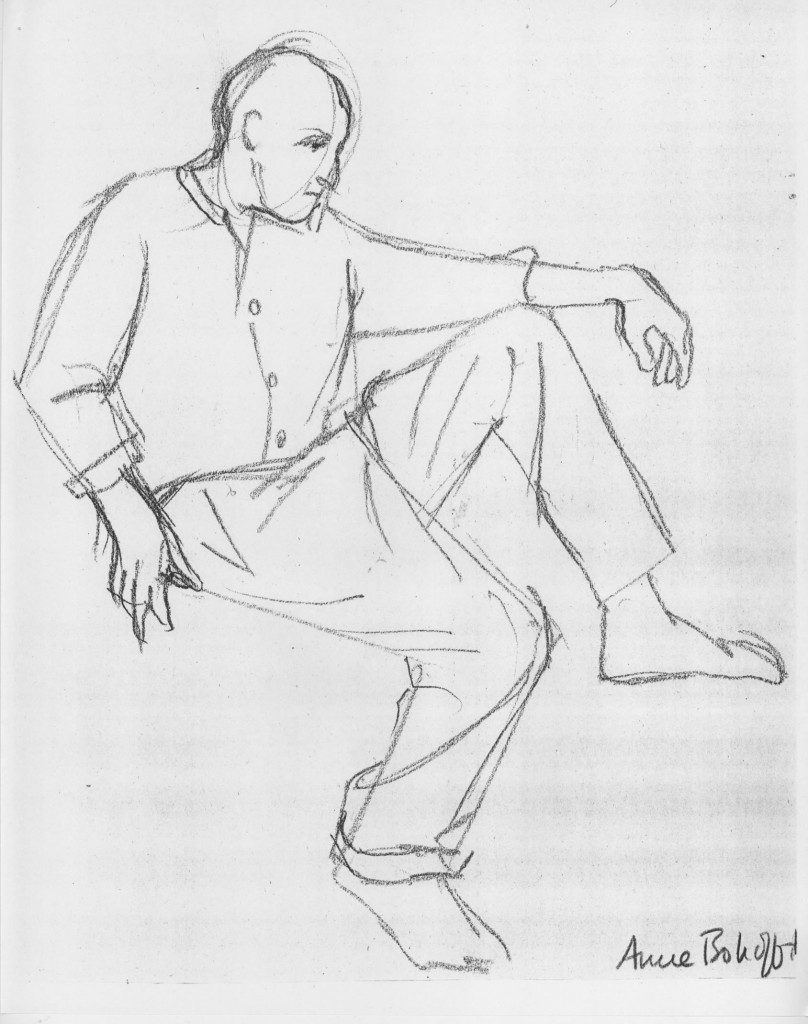
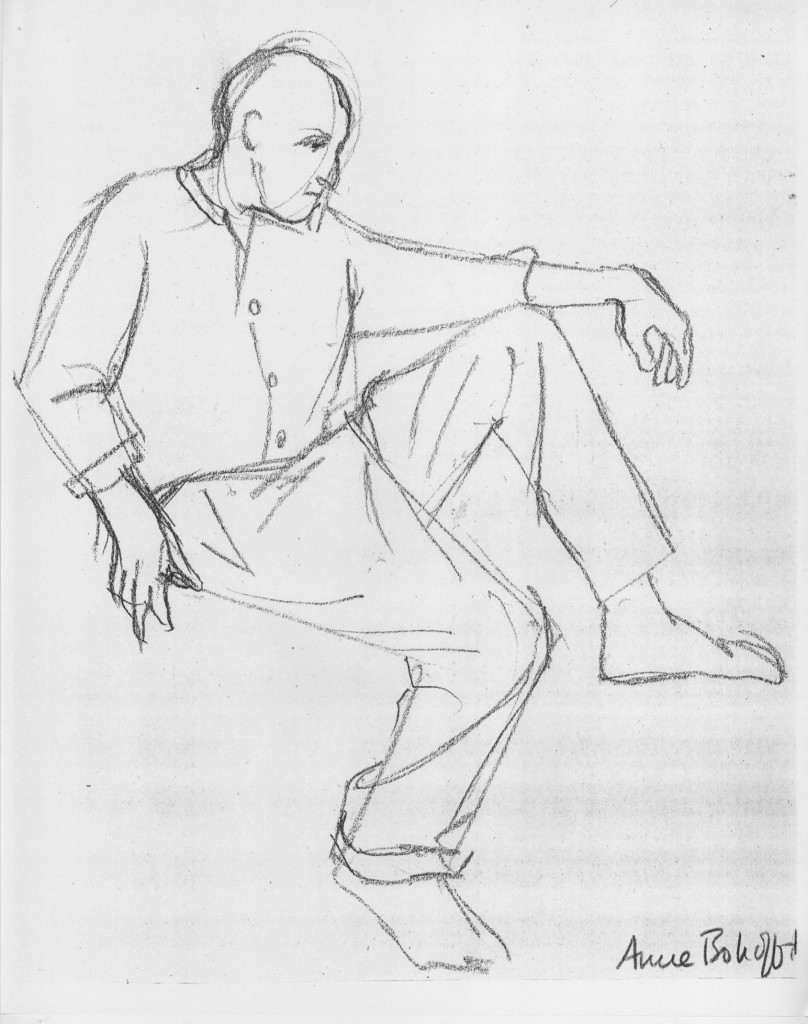
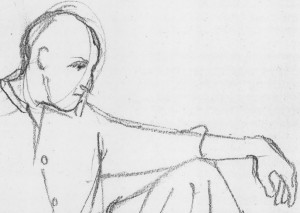
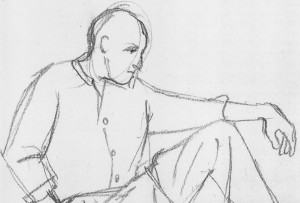
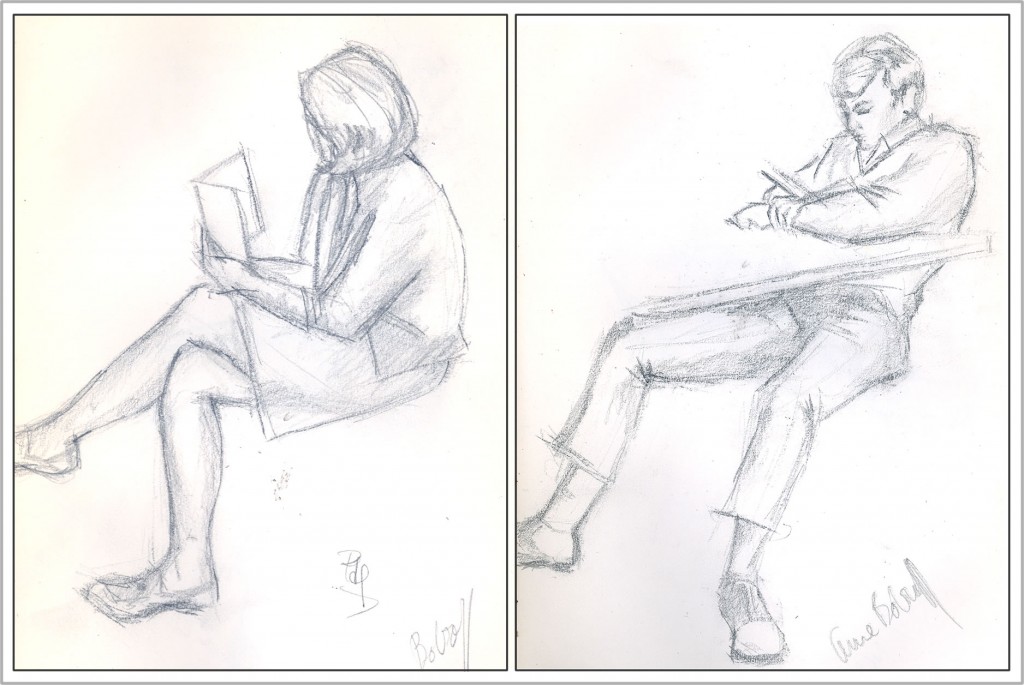
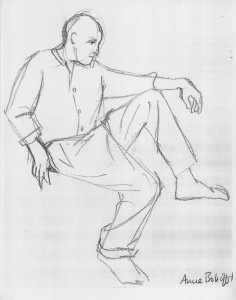
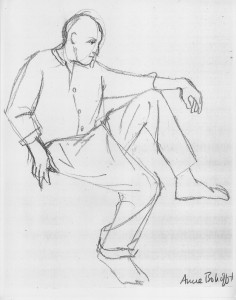
My 2-minute sketch of Don Duga
______
Beginning the second half of the life drawing lesson:
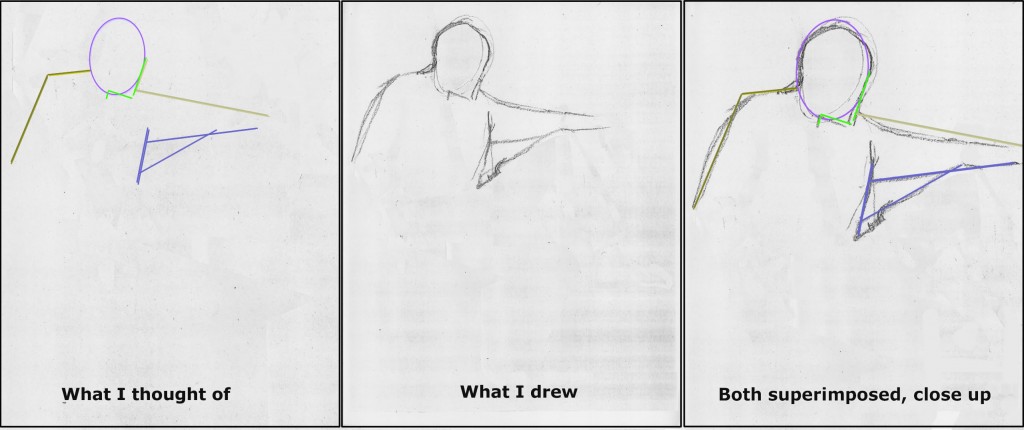
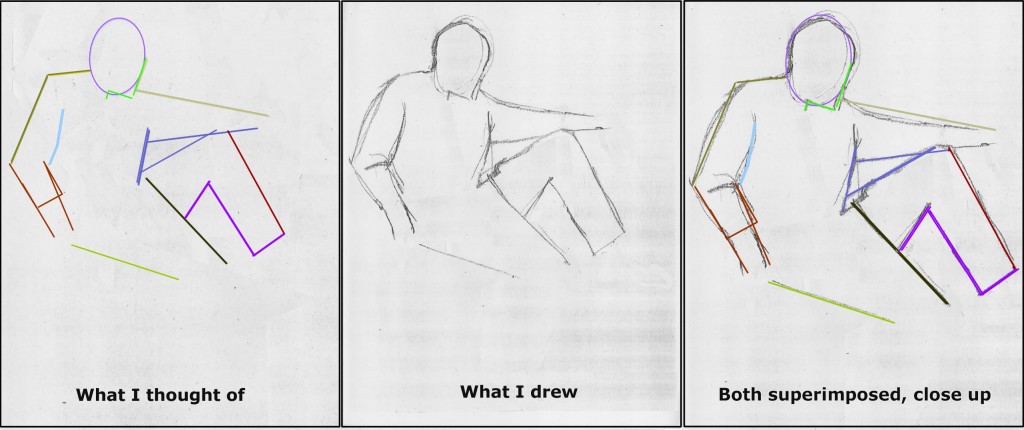
Next is the front of Don’s propped-up leg. By now you have all kinds of reference lines to draw its angle and length accurately. Which would you pick?
(To reiterate from Part 1, the sequence I’m following here is not preordained. As you practice with other models, you should move through shapes and lines as you notice their relationships to what you’ve already drawn. Try to cover the entire body very quickly using basic shapes. Only after that should you go back to add as much detail as you have time for before your model shifts position.)
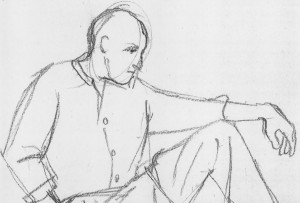
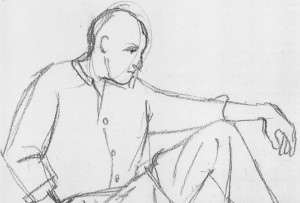
2-minute sketch of Don Duga
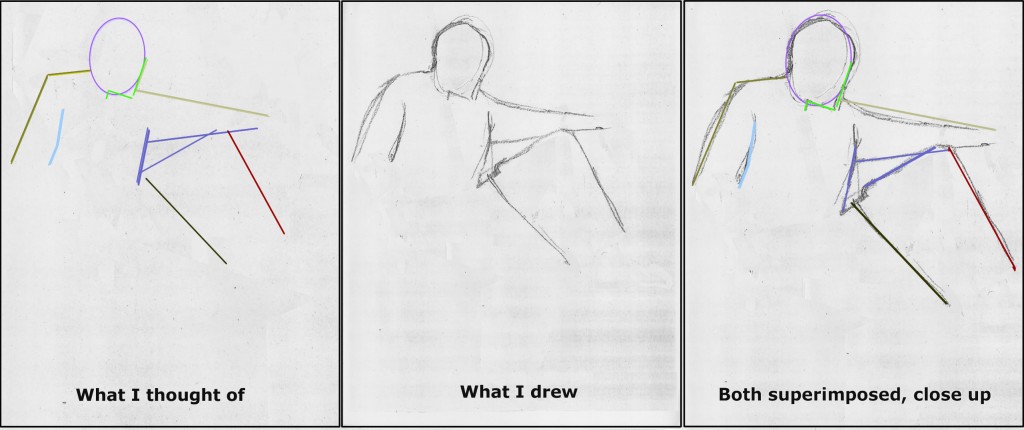
The next line I drew may be the trickiest of the entire pose. This is because our normal expectations about legs cloud our ability to see what’s actually in front of us.
If you rely only on your standard expectations about human bodies, you might assume that the inside line of each of Don’s legs would intersect the body at the crotch, the bottom center of the pelvis. But in this case, the lower pant leg of Don’s baggy chinos is being pulled upward and way off center by the propped-up leg.
Drawing something this disoriented from our normal assumptions is very difficult. The only way to achieve it is to abstract how you see it from all your expectations of what it should look like.
By now you know the angle-abstraction game routine: Forget that you’re drawing a leg or pants. Look only at the line formed by the top edge of Don’s lower pant leg. Where does this line begin at the top? Which line you’ve already drawn does it intersect, and where? If you look carefully, you’ll realize that it intersects the top line of Don’s raised leg just about at the point where it meets his shirt front.
Once you’ve determined where this line begins at its top, ask yourself whether it descends tilting right or left of its starting point? At what angle does it continue downward?
Don Duga 2 minute sketch
After I had sketched this line, I double checked its relationship to my already-drawn upper edge of Don’s other leg. Note that the two are not quite parallel. They slant slightly toward each other at the bottom. If you don’t have this right, feel free to sketch in another more accurate line.
If all this reads like a jumble of geometry, it’s because right-brain processes are always very difficult to describe in words (left-brain). I promise you that what may be tough to read here is a lot more fun in the doing. And the reward at the end is wonderful, when you suddenly realize you’ve created the image of a person from a maze of angles and lines. So keep moving through this with that spirit in mind!
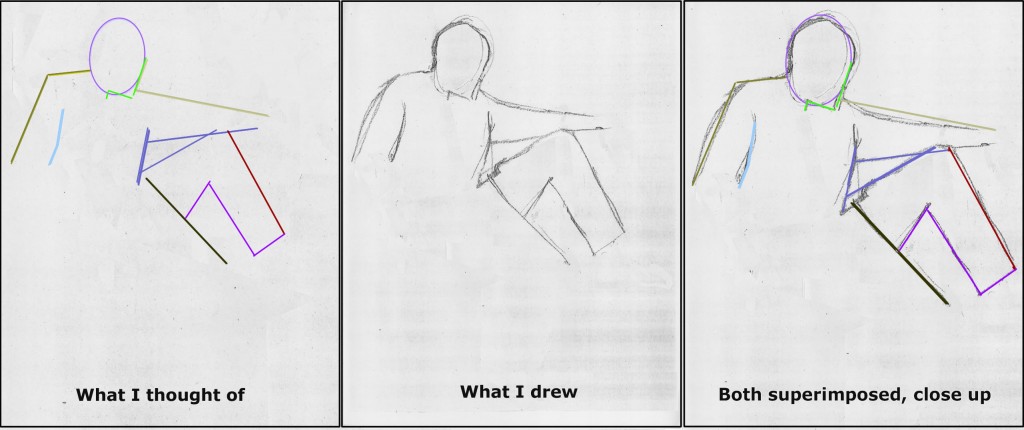
Let’s now outline the rest of Don’s upper pant leg. Where does the bottom-of-the-pant-thigh line intersect with the line you just drew? What angle does it form there? Where does it end? I noticed that it ended at roughly the same level as the line just drawn for the other leg.
My 2-minute sketch of Don Duga
From this point on, completing the outline of Don’s propped up leg is easy because the back calf is almost parallel to the front calf line.
I then completed the bottom thigh line for the other leg, along with the lower arm on the left of the page.
I think you’ve probably grasped the angle-abstraction method well enough by now that it will be more fun for you to play the game on your own rather than reading more verbiage. So I’ll let my images speak for themselves for the next couple of steps.
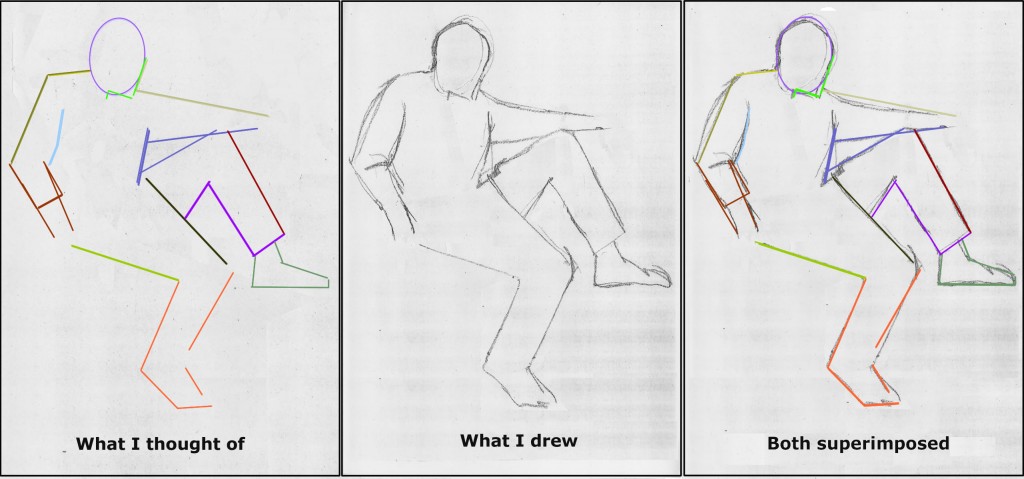
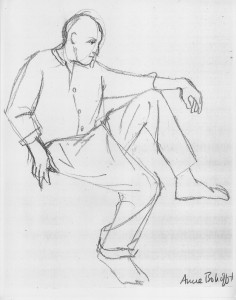
2-minute sketch of Don Duga
Next, I turned to the hand on the right side of the page. Many people find hands very difficult. But hands should be approached exactly the same way as any other part of the drawing. The lines are short, but the process is exactly the same.
If it’s easier and/or quicker for you, you can abstract hands into their component shapes – triangles and parallelograms – rather than individual angles. I do this all the time.
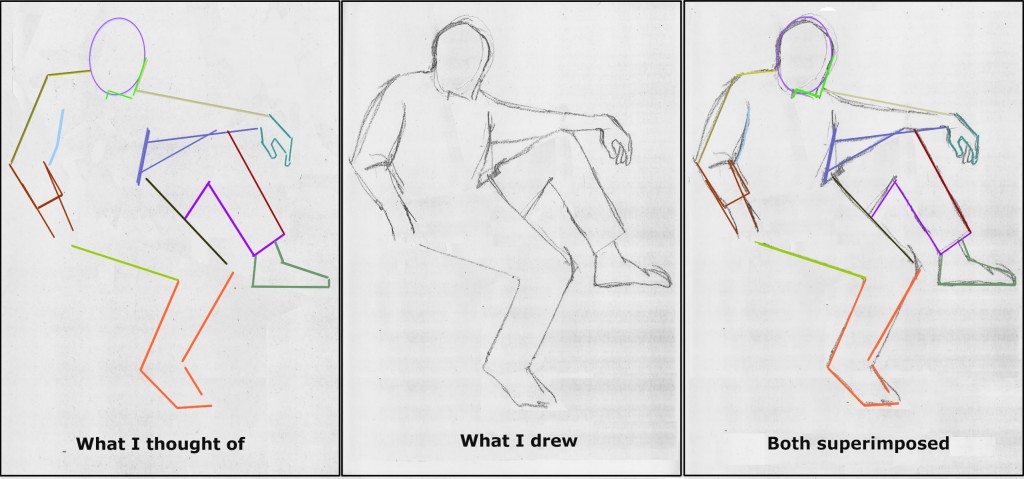
Now I drew in Don’s waist – or more accurately, the lines formed where the folds of his pants borders his shirt. This is another series of those strange and complex lines that you can’t draw in any other way than by looking at the angles and forgetting all your standard expectations about what a waist should look like.
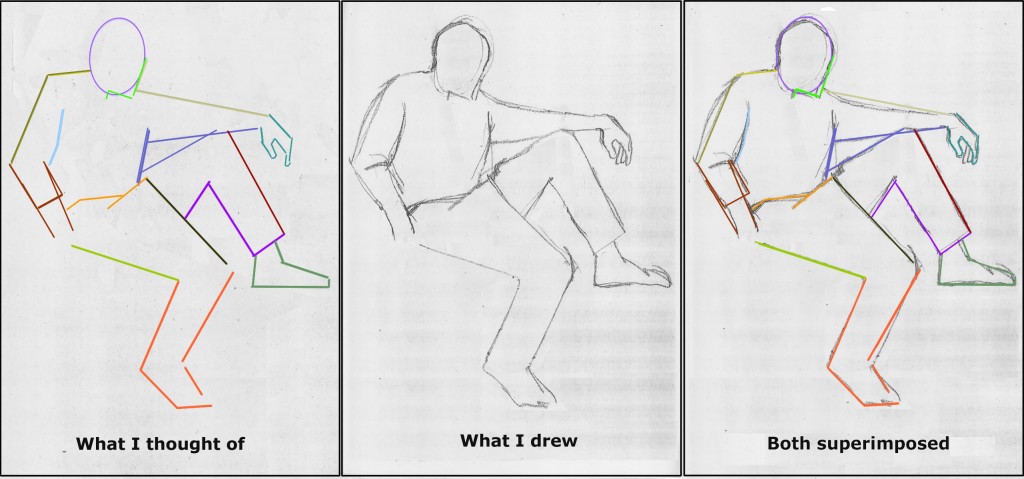
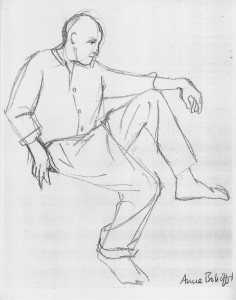
2-minute sketch of Don Duga
Last, I sketched in the opening of Don’s shirt along with its buttons. You’re already used to seeing lines and angles. For the buttons, look at them as pure ovals. What is the shape and tilt of each oval? Each is different from the others because each button is at a different place in the folds of Don’s shirt. We’re seeing each button from a different perspective. So if you get each button-oval’s width and angle correctly, they will contribute a lot to conveying the shirt folds. That in turn will begin to give your drawing the depth and detail that make it look 3-dimensional, even though you haven’t added any shading.
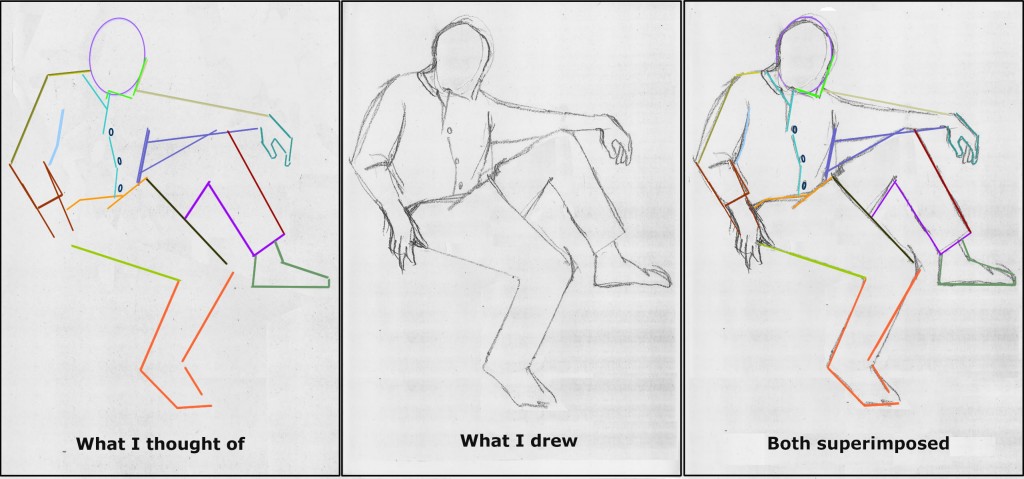
The hand on the left of the page is not my finest moment, so I haven’t described how I drew it. It’s one of those details you leave for the end of your 2-minute sketch period, and time runs out. This is a common occurrence in these quick sketches, one that only lots of practice helps you improve on.
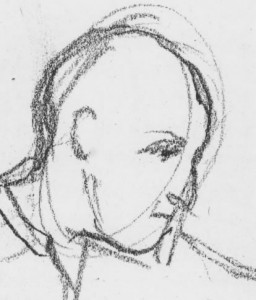
You may be wondering about the detail in Don’s face and the folds of his clothing which is in my final sketch, but not discussed here. This level of detail is the last phase of each life drawing. I hope to get to talking about that soon.
Meanwhile, though, we’ve accomplished a solid, believable drawing of Don’s basic position! Congratulations, and keep practicing!
Last but not at all least, I’d like to hear from users whether this lesson has been useful. Are there parts that haven’t been clear? Would more lessons like this be helpful, or does this one cover all the basics you need to know? Are the visuals helpful as they’re done here, or can you think of another presentation that would make you feel the fun better? Would more or less text work better for you? Please let me know, preferably by clicking “Leave a Response” below to comment, or else by emailing me at abobroffhajal [at] gmail [dot] com.
